Weaving How To: Looped Rya
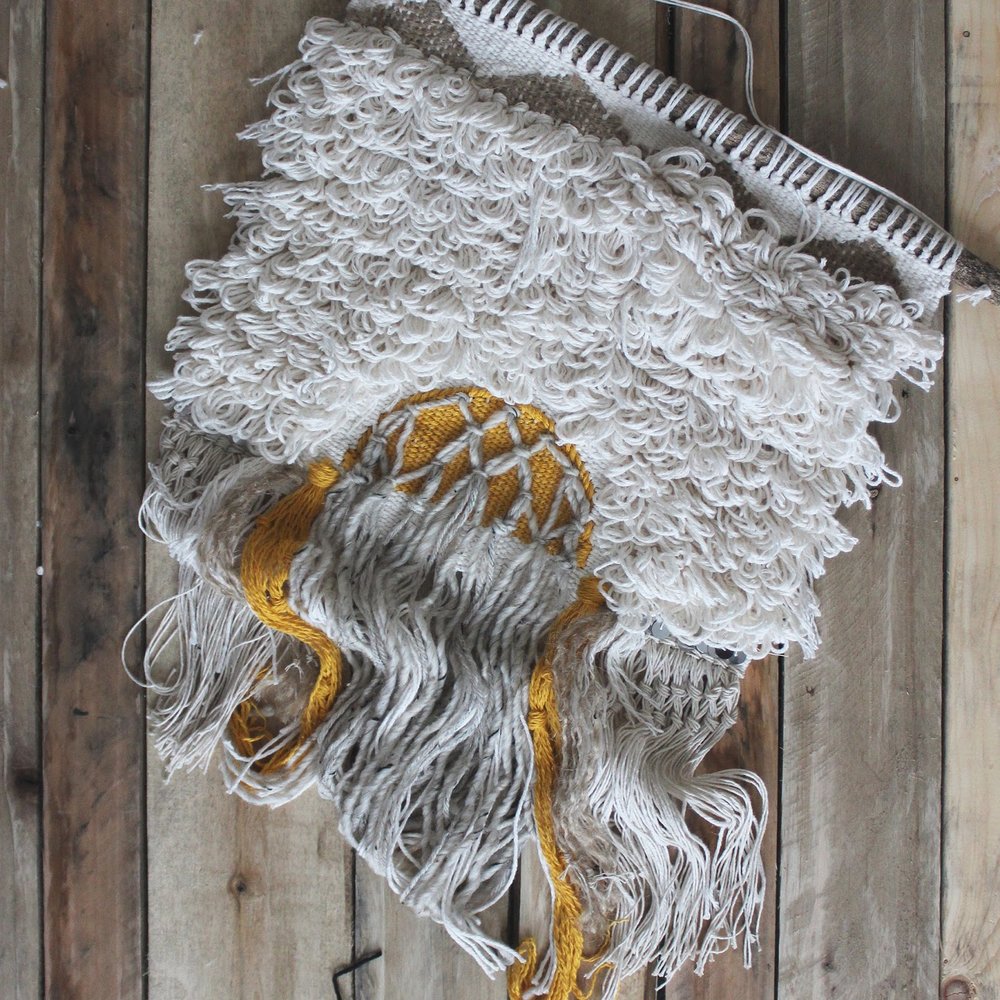
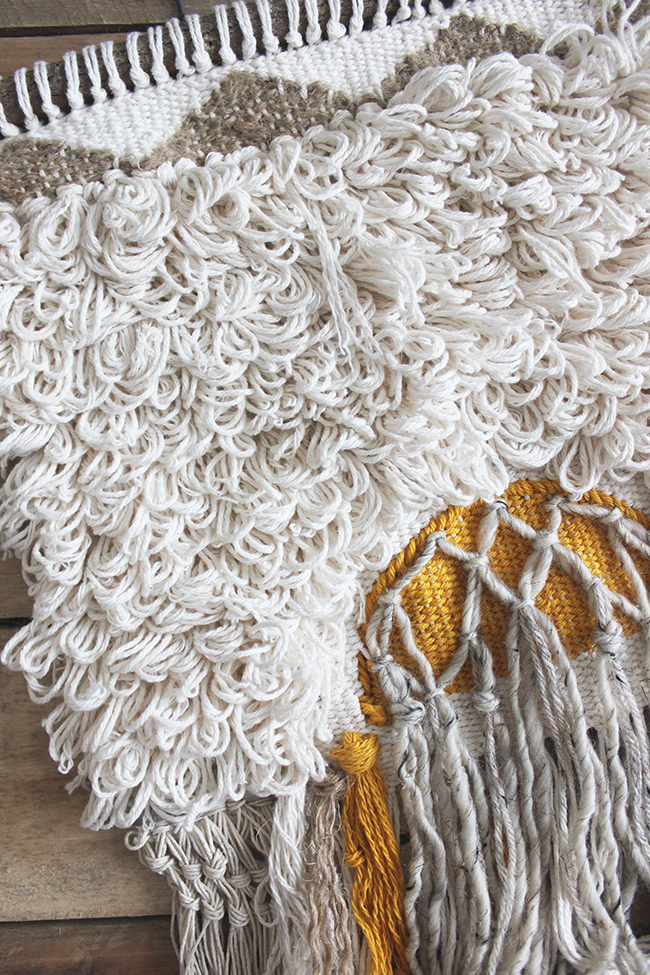
I have been weaving almost every day for over a year now. It brings me peace and makes me happy, but it also teaches me about patience and reminds me of many of my other favorite art mediums. Some days I think about ceramics and how similar it is to sculpting texture with clay, sometimes it reminds me of graphic design - because even the most organic design requires geometric skills! While working on this sun-inspired weave I kept having flash-backs of hand crocheting with my grandma when I was young.
When I want to create some really thick texture I always forego my needle and work on building up the layers of fiber with my hands. After I posted a quick video on Instagram of my looped rya action in speed mode I've had a lot of questions on how to achieve the technique.
I would recommend that this is almost an intermediate weaving skill, so if you are brand new to weaving there are lots of other great stitches for you to practice with first. But don't worry! I've slowed everything down this time for an easy, step-by-step how-to.
And if you decide to try this stitch on your own weave be sure to tag me on Insta so I can see!
*
Another thing to note is that I weave upside down, so obviously my stitches are upside down. When I flip my loops up you can see the familiar outline of the Rya cap. If you don't weave upside down then it might take some trial and error to flip this technique your preferred way.

1. Thread a 3 inch loop behind your second warp string.
2. Use two fingers on your right hand to catch the loop and help anchor it as you continue the next step.
3. Use your left hand to bring the tail of the yarn around, in front of the next two warp strings.

5. Loop the tail around the back of the fourth warp string, around your same two fingers to help anchor it in place.
6. Pull down on both loops with one finger.
7. Pat the rya loop down.
8. Repeat the process by looping the tail behind the next second warp string and following steps 1-8.
When you reach the end of your weave use a different yarn to add 5-6 basic wefts to hold the looped rya in place.
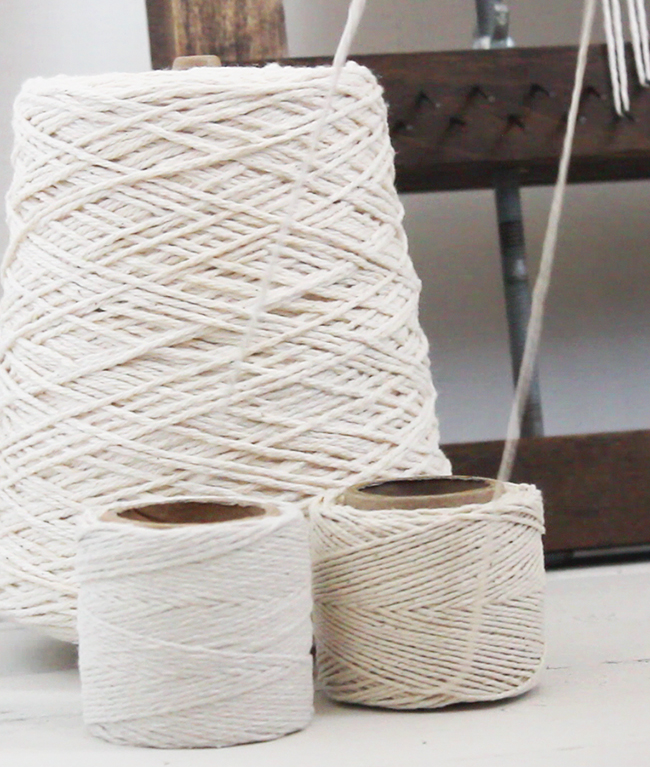
The great thing about this technique is that you can weave continuously from your yarn cone! No need to cut a section. I like to use 2-3 different weights of yarn in the same color family for extra shag.
This weave and its little brother are available on my artist website. Visit them at HelloHDesign.com!