How To: Low Immersion Hand Dying

I love weaving with yarn that has a handmade touch. Whether it's spun or dyed, it makes my weaves stand out!
reached out to ask if I would be interested in trying out their reactive dye kit and I was quick to jump on it. They include everything you need to try out different dying methods, but the best part is their easy to understand handbook. It explains everything so clearly. The easiest way to dye fibers like cotton and silk so that the color lasts is to use fiber reactive dye. Let me show you how much fun I had!
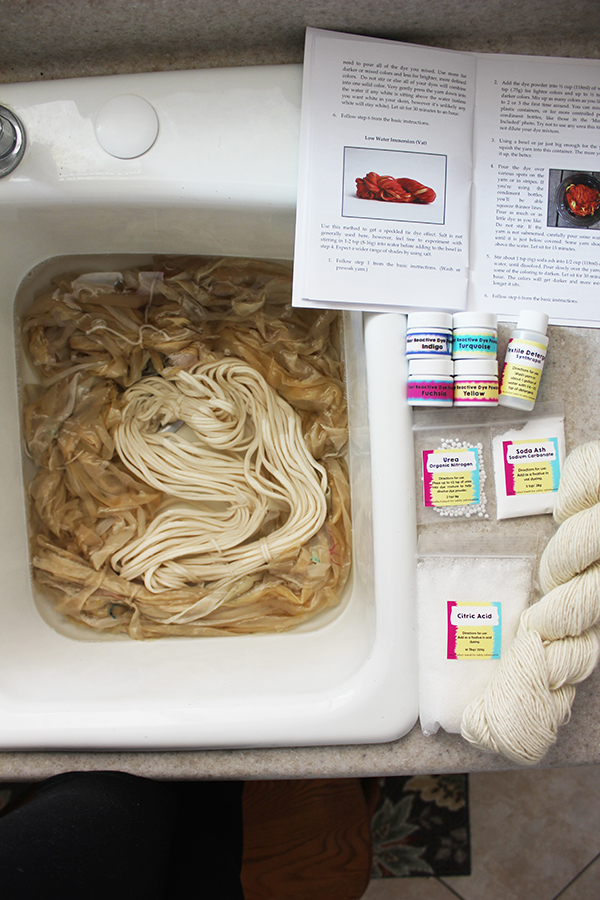
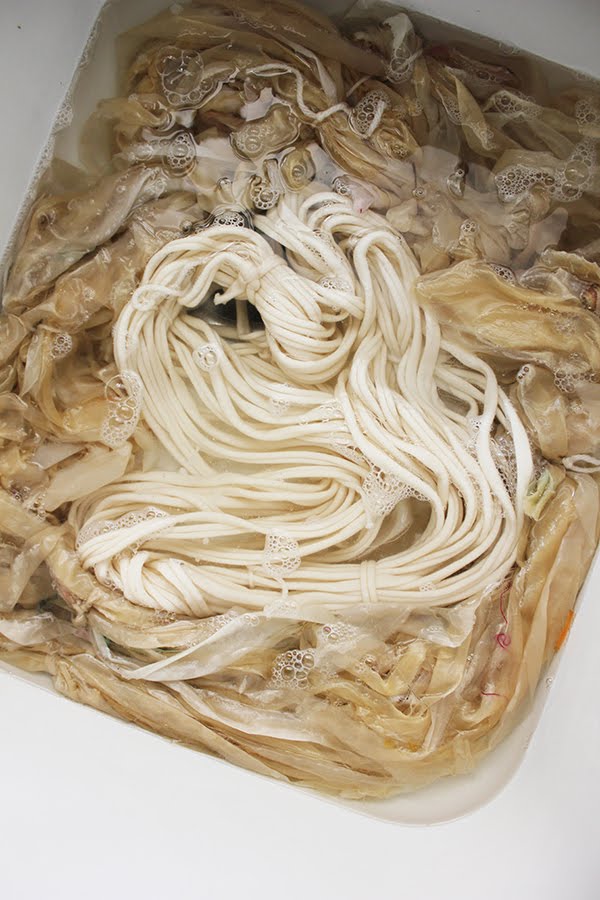
The first step is to soak the fiber in warm water with detergent. Fiberhuis even includes a great detergent in their kit. This cleans the yarn thoroughly so that the color can stick. Even though it may look clean, the water was a nasty yellow by the end. It made me want to wash all of my yarn!
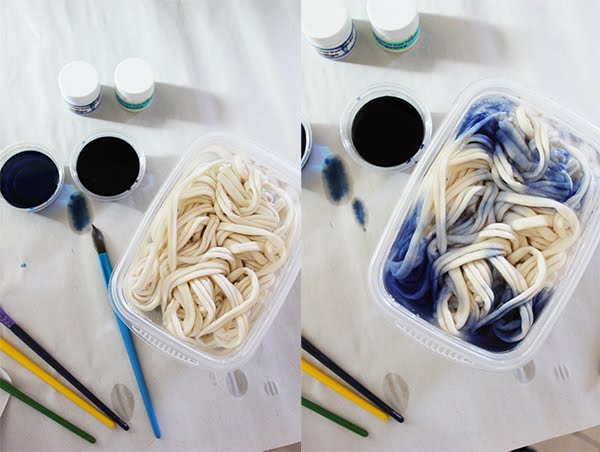
I chose to try the low immersion method (this creates a variegated, speckled effect.) After the yarn was cleaned and rinsed I scrunched it up and stuffed it into a container so that there were no empty spaces between pieces. I poured 3 cups in the container with the fiber, just so that it filled up to where the yarn ended. There should be some pieces of yarn actually sticking out of the water. I mixed up the dye and poured it in stripes across the top of the yarn and let it sit. If you want, you could pour some other colors in the spaces that didn't get dyed for a rainbow effect.

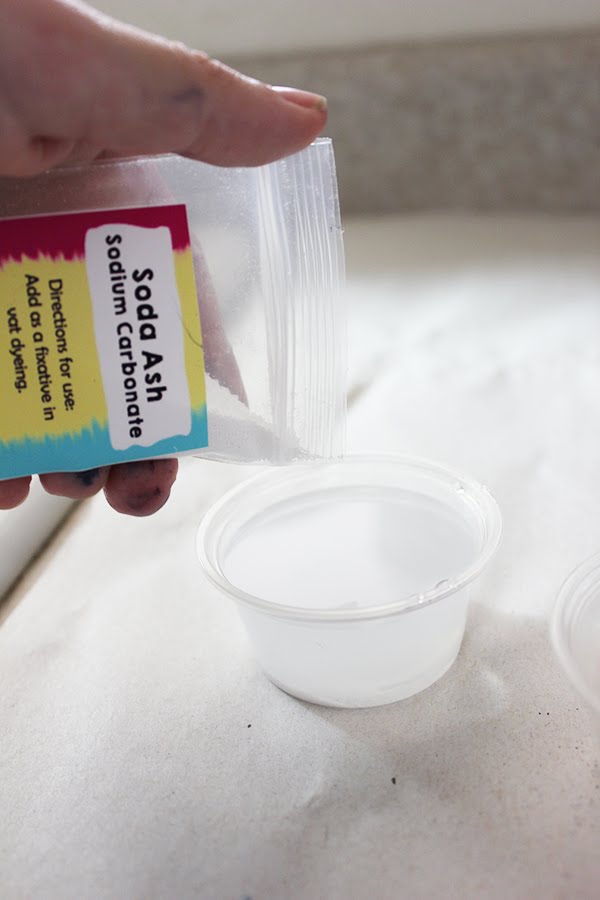
My yarn was scrunched pretty tight so I had to use a paintbrush to poke some of the dye below the top layer. The longer you let the dye sit, the darker it gets. If you want to add another layer of depth mix up some soda ash in water and pour that in a few spots over the dye. This is supposed to darken the color.
I didn't take any photos of rinsing the yarn and hanging it to dry, but Fiberhuis made it so easy to experiment with hand dying. I got a pretty pale indigo color that I can't wait to weave with, and it happened in about an afternoon. If I had added more dye or let it sit longer the color would have darkened, but I ended up loving the hue and the variegation in color. Fiberhuis includes instructions for many more dying techniques - I can't wait to try them all! Thanks Brittany, for a pretty cool kit. Now I'm on the search for more things to dye, pronto!