How to Add Fabric to Weaving

If you've been following me for a while, you know how much I love to add extra Embellishments to my work. They are usually vintage/found beads, trim or stones from around the world. I love that they add to the story of my pieces, beyond my own designs.
Adding fabric is definitely an an unconventional embellishment to tapestries... but that's what I love about it. It's raw and unexpected! It may not fit with everyone's style, but I wanted to share for the people who are curious and have been asking me questions. Tutorials are one of my favorite ways to spread the weaving fever!
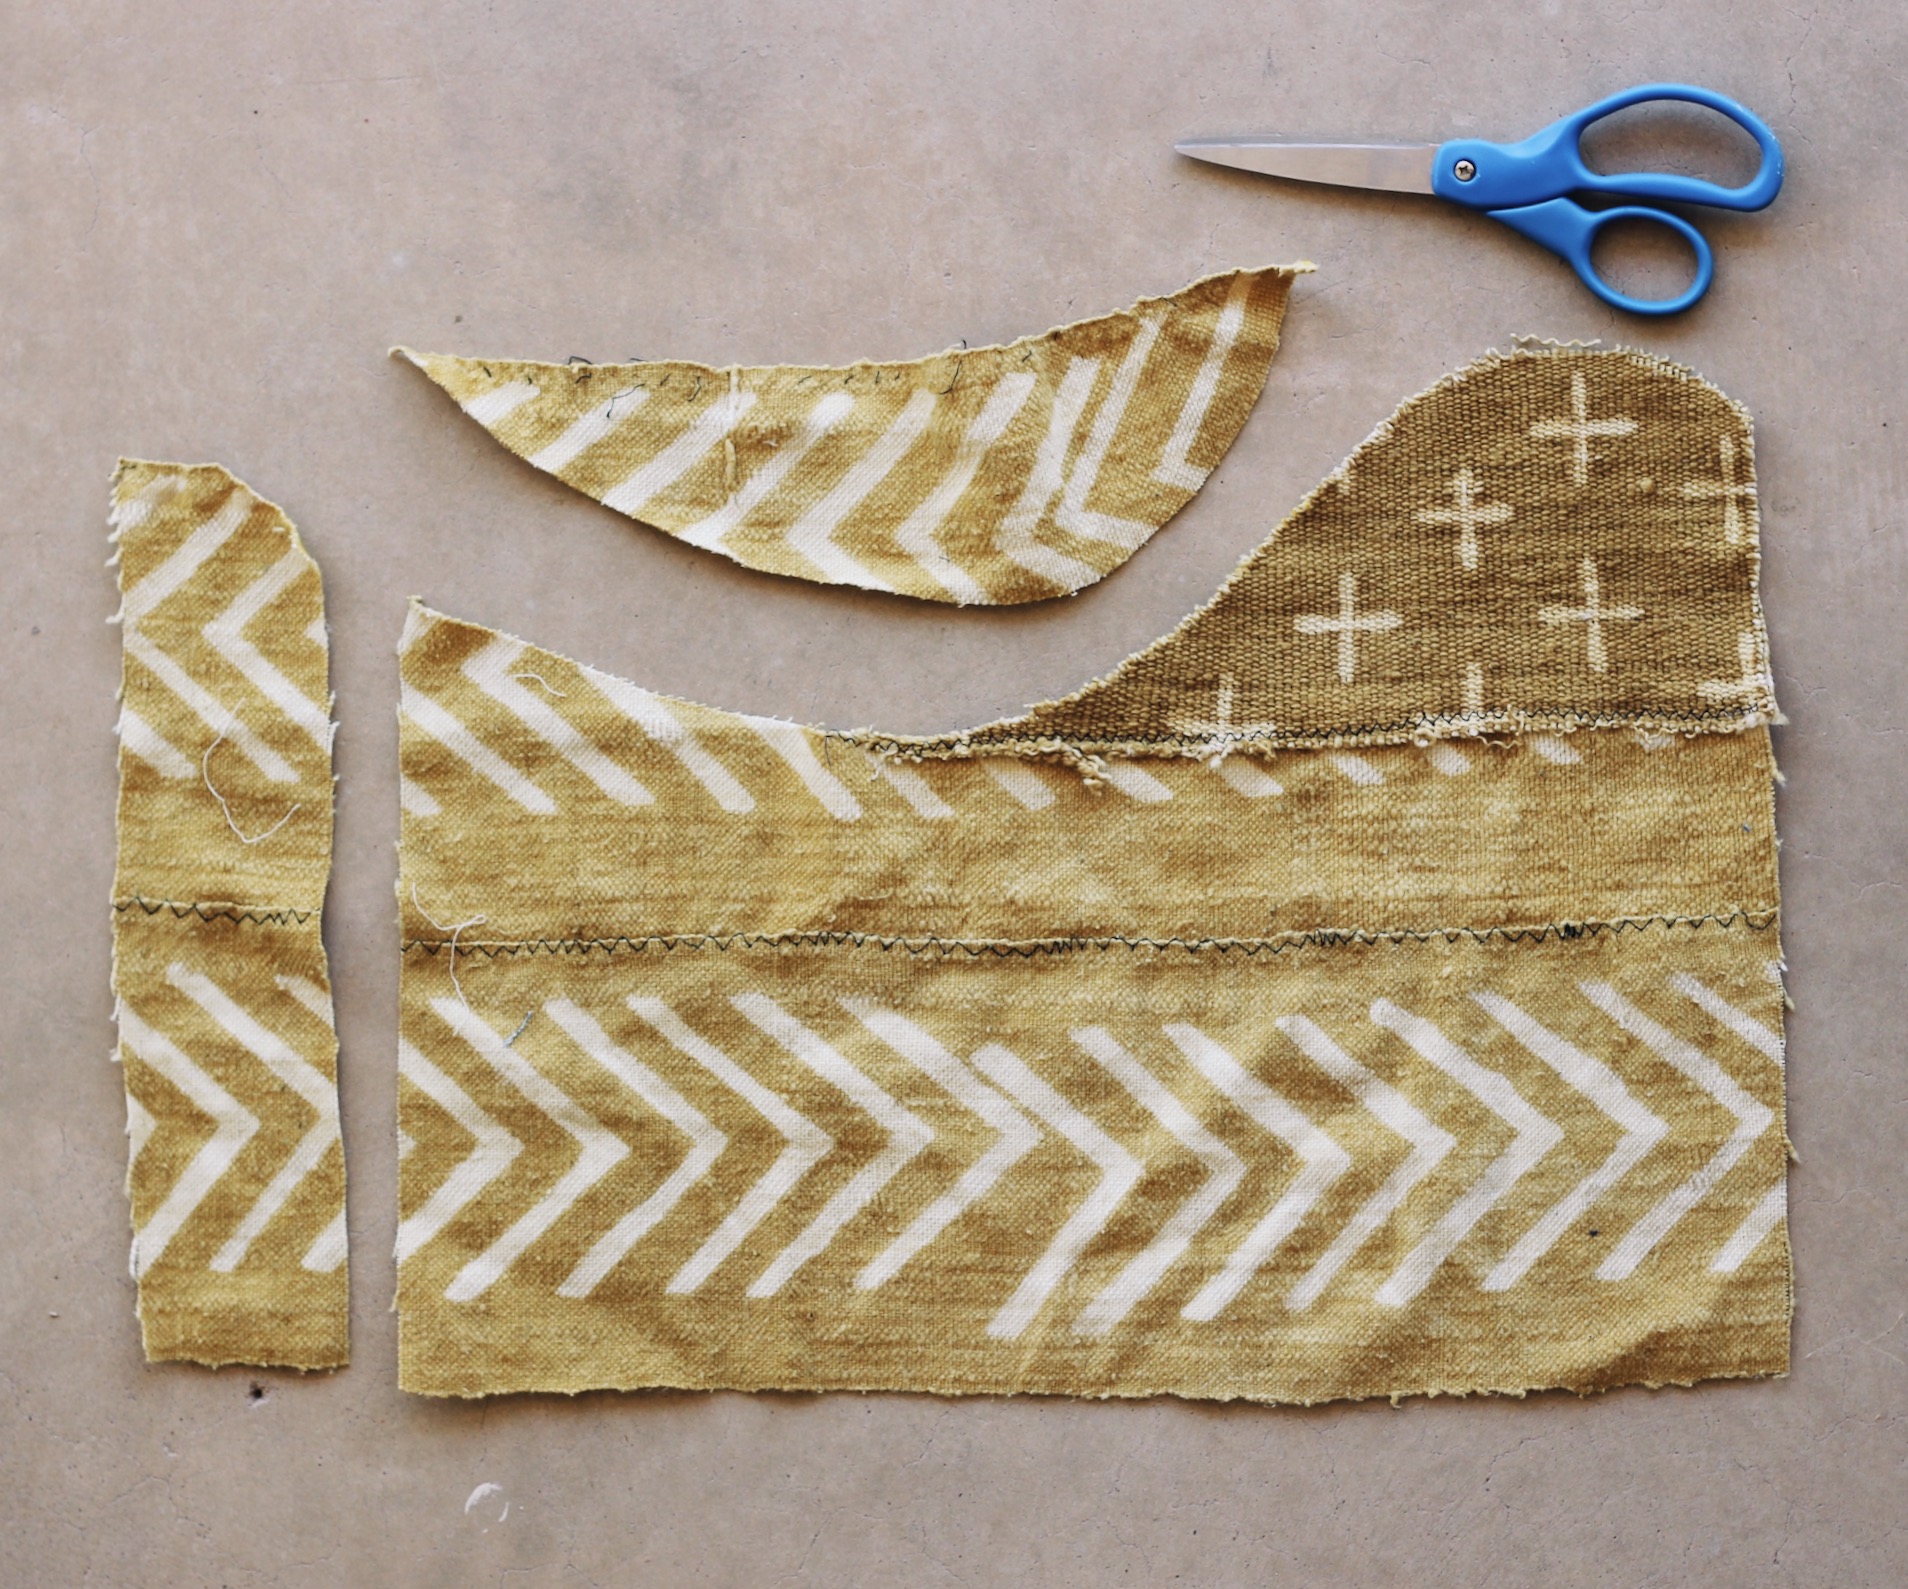
The first step is to cut your fabric into the shape that you want it to be on your tapestry. This requires preparing the length of your tapestry to be the same as your fabric swatch while warping, if it needs to work into your design.
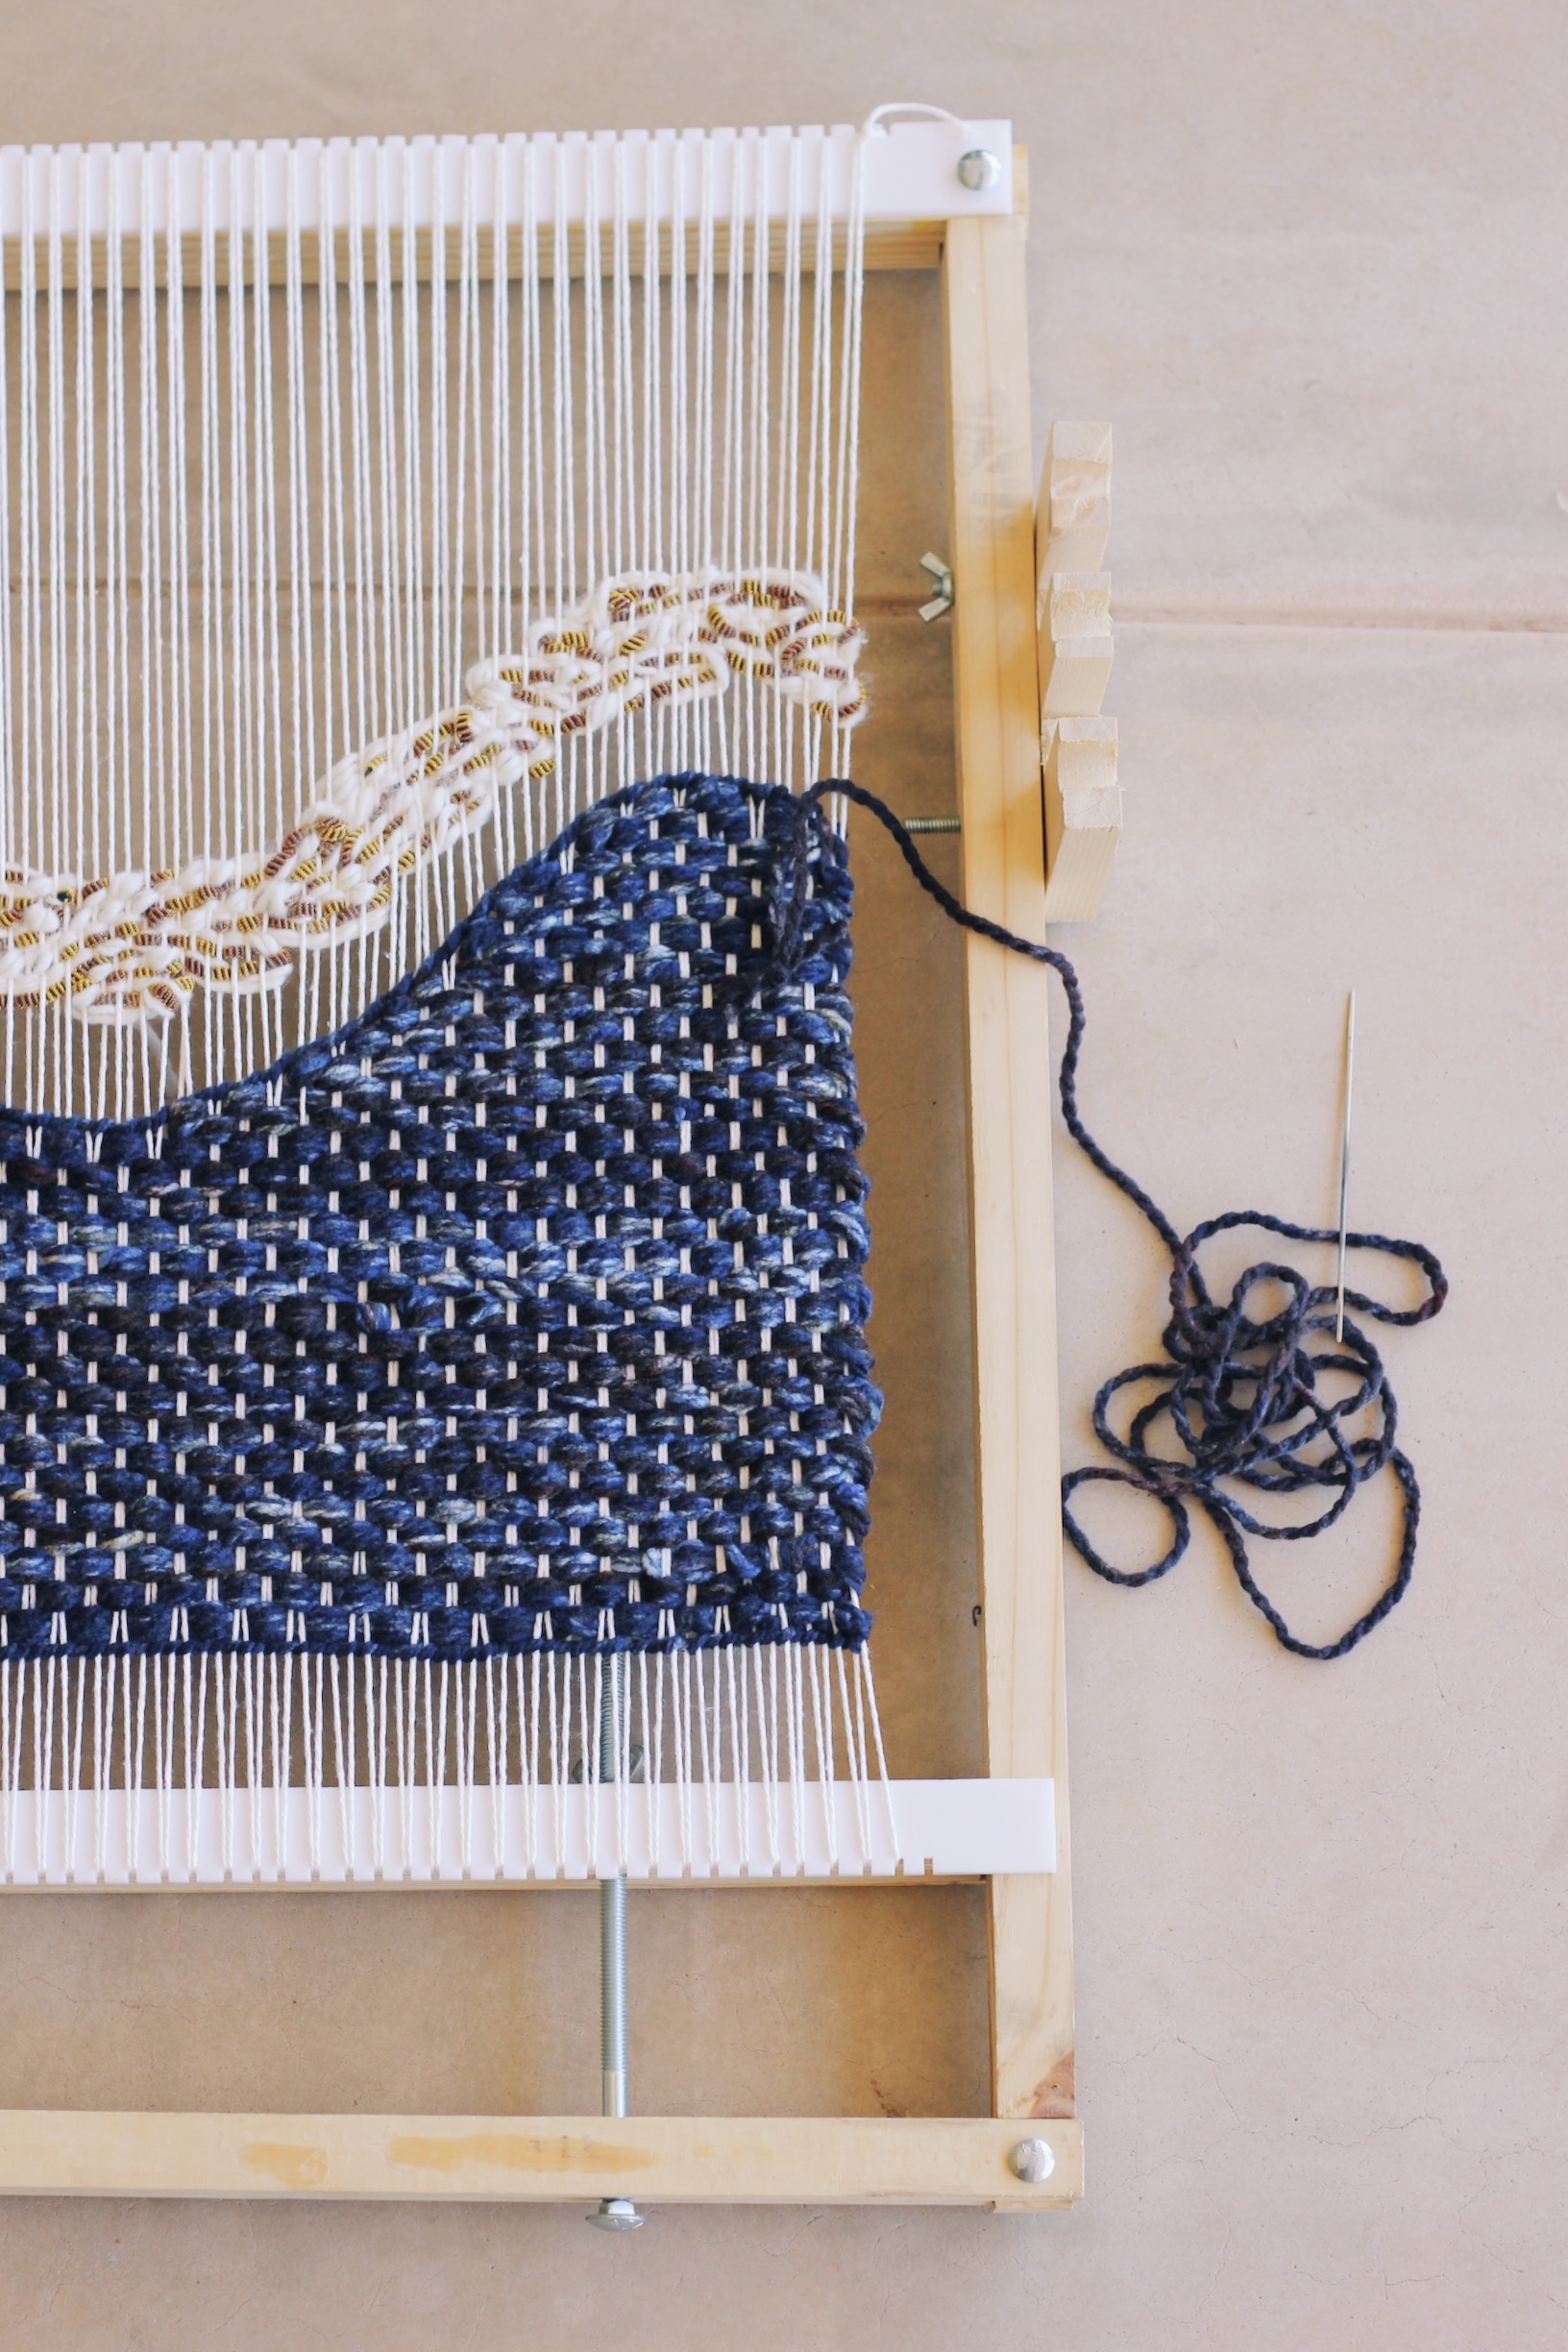
Once your fabric is cut, use it as a template to weave the same shape on your loom. Yes, this backing will get covered up... yes it is required to do even though your hard work will get cover d up (remind yourself that it's for the sake of quality!)... and yes, use a color/material of yarn that you don't mind getting rid of. It won't be seen after all!
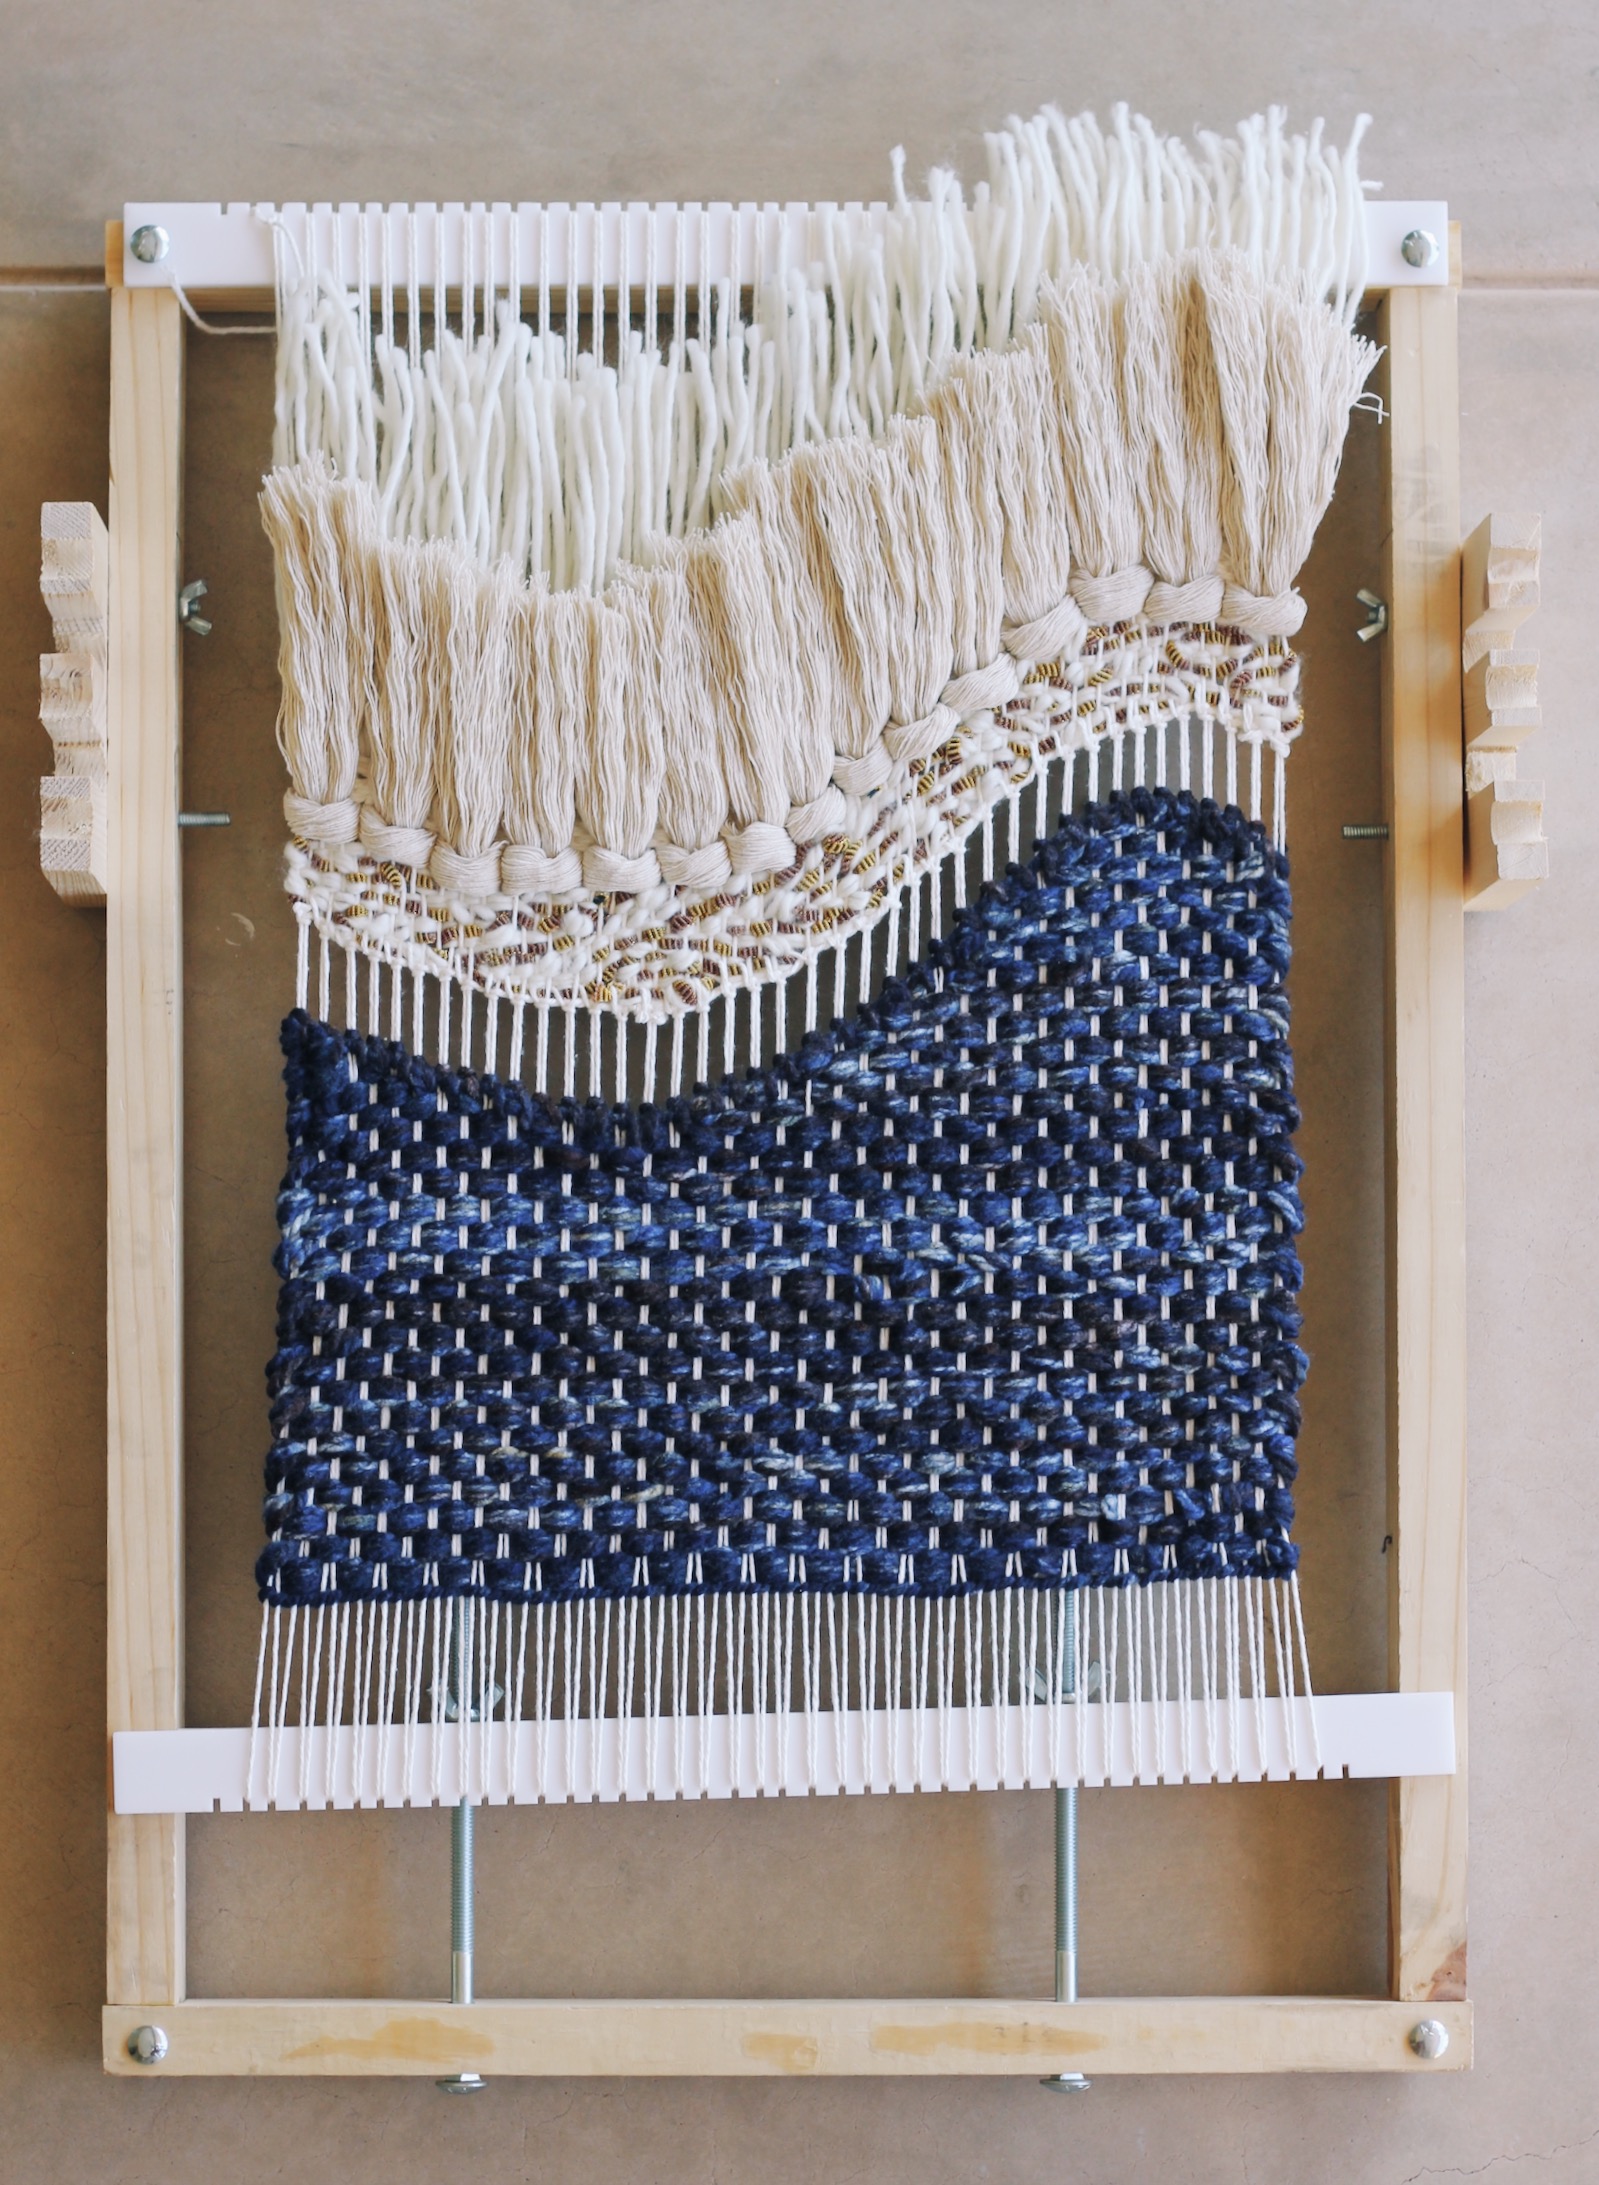
Now finish most, if not the rest, of your tapestry. I've found that it's easier to add the fabric after all of your rows are in place instead of trying to work around the attached fabric.

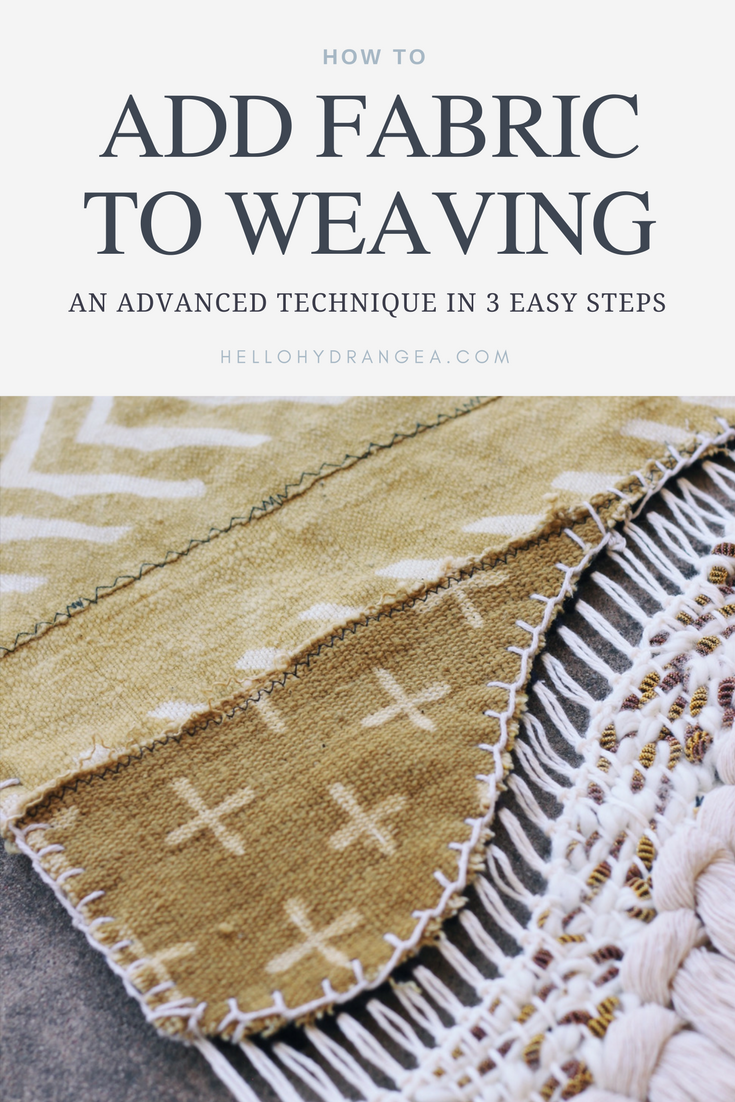
When you are ready to add your fabric lay it on top of the woven backing. I prefer to attach it around the edges using a blanket stitch. You can use thread/yarn that is the same color as the fabric for minimal contrast. Tie a knot onto a warp string to hold the stitch in place and tuck the tail. Guide your needle up through the back of the tapestry, about 1/2" from the edge of the fabric. Before pulling the thread tight, guide your needle back through the loop that is created before pushing it up through the back of the tapestry again.

Continue along the entire perimeter of the fabric. If you run out of thread, use the weavers knot to add more and tuck the tails. If you get to a corner, complete the stitch as normal... it will work just fine.
If you attempt this technique please tag me and use #welcometoweaving! Want to learn more? Check out my complete video weaving courses for beginners or intermediate level weavers below! This is a fairly advanced method because you need to know all of the basics of tapestry weaving such as warping, tabby weave, making shapes, twining curves and any other techniques to finish your tapestry. If you want to learn how to weave so that your tapestries are well-made and easier to finish you can find all of my tricks and tips in any of my classes!