Painting with Masking Fluid
When I'm not glued to my loom or my computer, weaving or editing, I like to grab my paintbrushes and pretend that I learned something from the dozens of art classes I've taken. I found some masking fluid (I had no idea what it was) in the paint aisle during my last trip to the art store and had to grab it. I haven't had a chance to really try it out because I have been weaving like crazy but it is a life-saver! Where has this been my whole life?

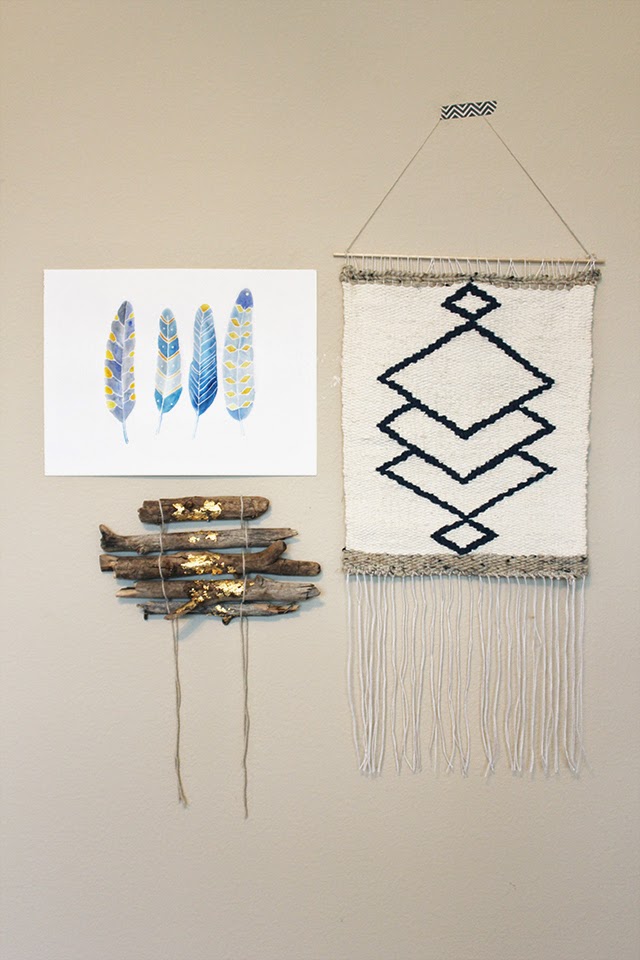
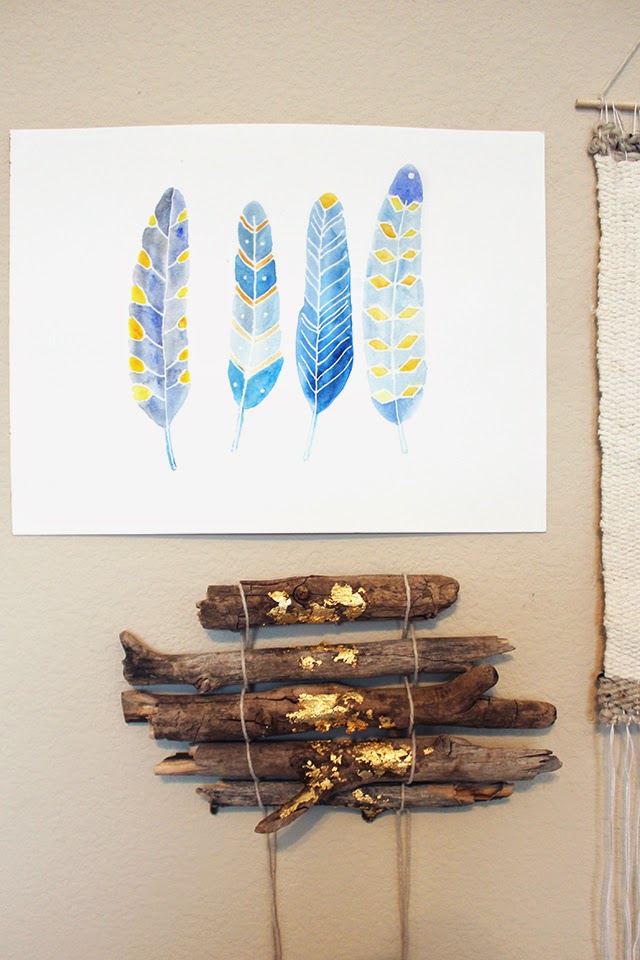
Have you ever wondered how some artists manage to leave the tiniest lines of negative space in their paintings? Have you ever tried to recreate the look naturally by brushing extremely slowly and carefully? The slightest bump can mess up hours of work... and the finished product has an unnatural appearance. Masking fluid is the miracle answer!

The first step is to lightly draw the basic outline of your picture with a pencil. Then grab your masking fluid and copy the outlines by squeezing the fluid directly over your lines.
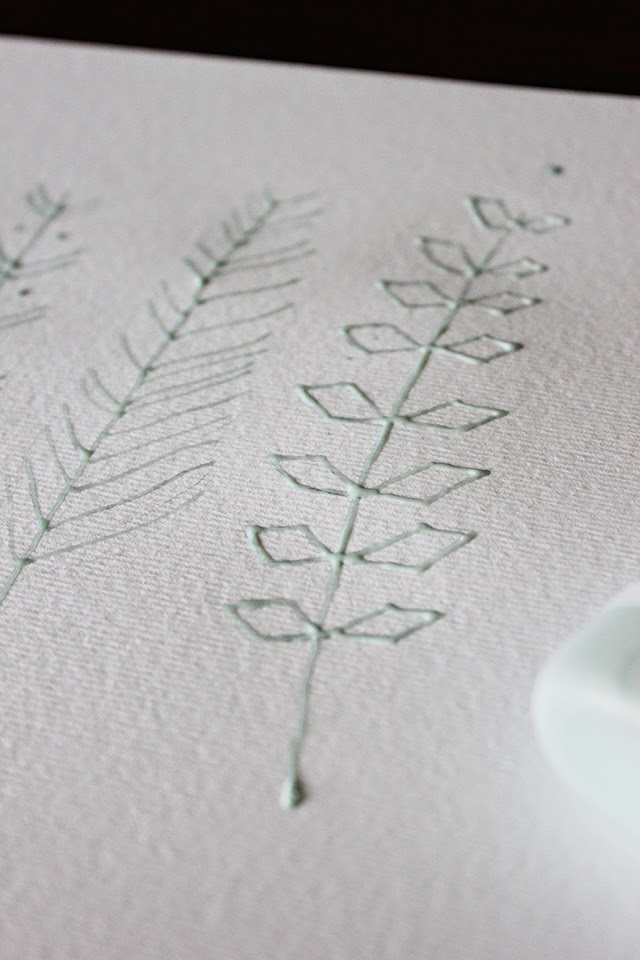
The fluid comes out of a needle-shaped cap at a steady rate. Although it comes out as liquid, it dries very quickly into a rubber quality.
Wait for a few minutes until all of the masking fluid has dried and then grab your brushes and paint just like usual - right over the top of the dried masking fluid.
(Masking fluid is also great if you stink at staying in the lines and need an invisible border for your paint!)

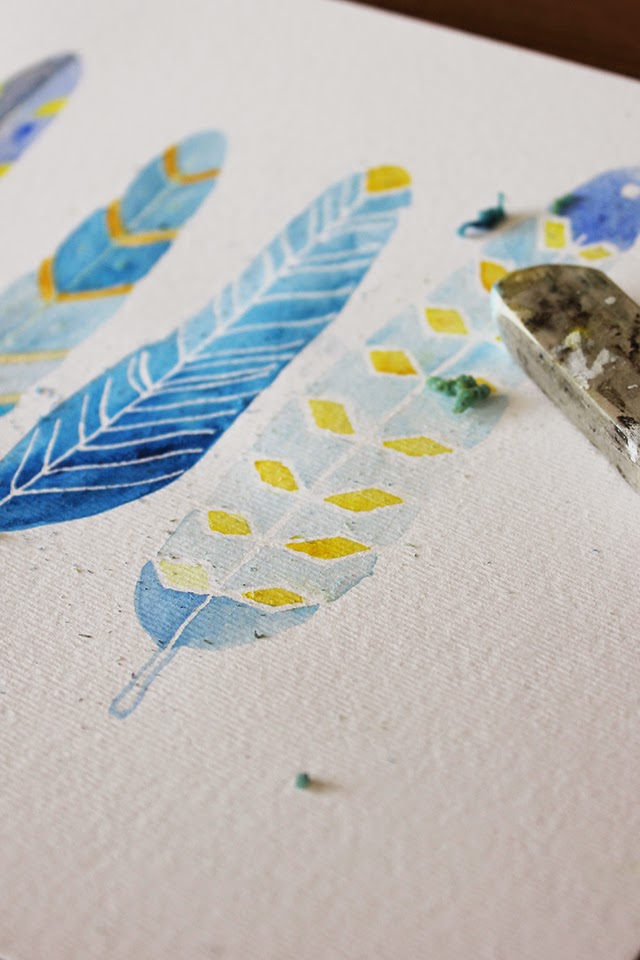
This is where the magic happens. Once your paint has completely dried, grab a rubber eraser and gently rub over the top of your painting.

This is my favorite part! The masking fluid clumps together and comes up easily just like the temporary adhesive on the back of brand new credit cards. All that is left behind is your beautiful painting with perfectly thin, negative lines. Everyone will be amazed at your smooth hand, but we'll both know the secret...