Weaving How-To: Outlines
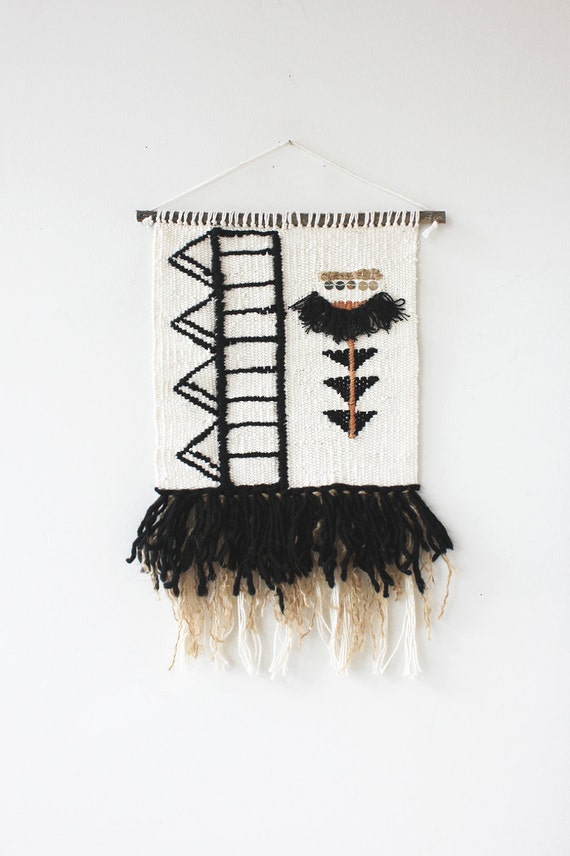
Weaving shapes sans color is a great way to keep a design bold and modern. To me, I like to imagine that the tapestry is a blank piece of paper with black sketches drawn right ontop. Although I chose to use a thicker roving for my outlines, a thin material would also look great. Below I hace included 3 different ways that I outlined my shapes. They may be obvious, well-known (and kindof cheating) but I always think the best stitches are the most simple!
Straight Horizontal

Start with a piece of string that is folded in half. The half that is on the bottom goes behind the next warp string. Then, because the two halves have switched places (so that the one on the bottom is now on the top) the half that is now on the bottom goes behind the next warp string. Repeat until the entire row is completed.
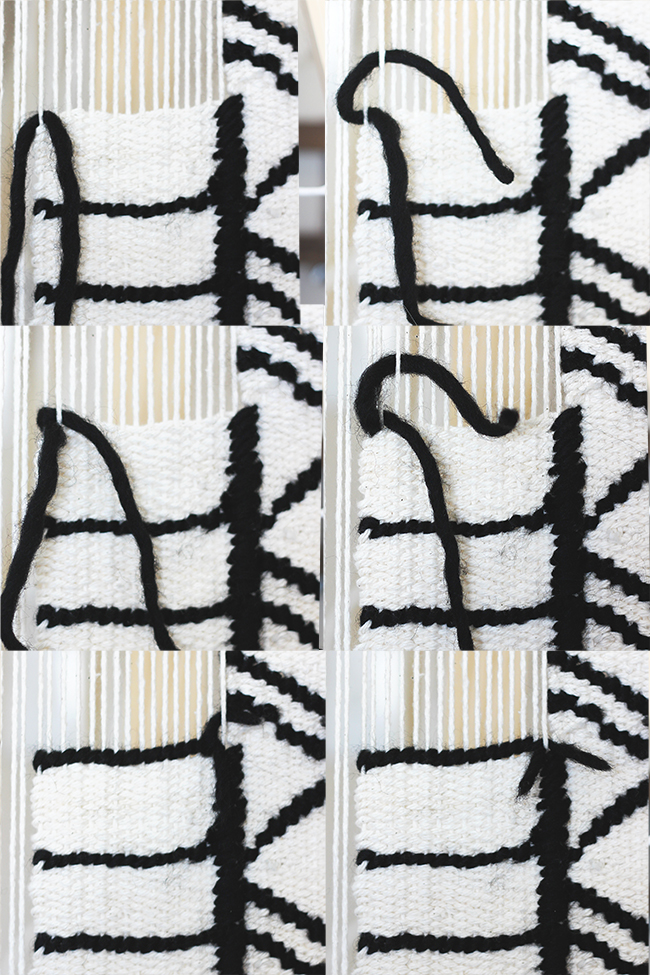
On the Diagonal

This is your basic soumac stitch. The string wraps behind two warp strings and in front of one. Then behind the next two and in front of another. This stitch can also be used for a straight horizontal outline, but it isn't as tight and so it can take the extra stretch of rising on a diagonal.
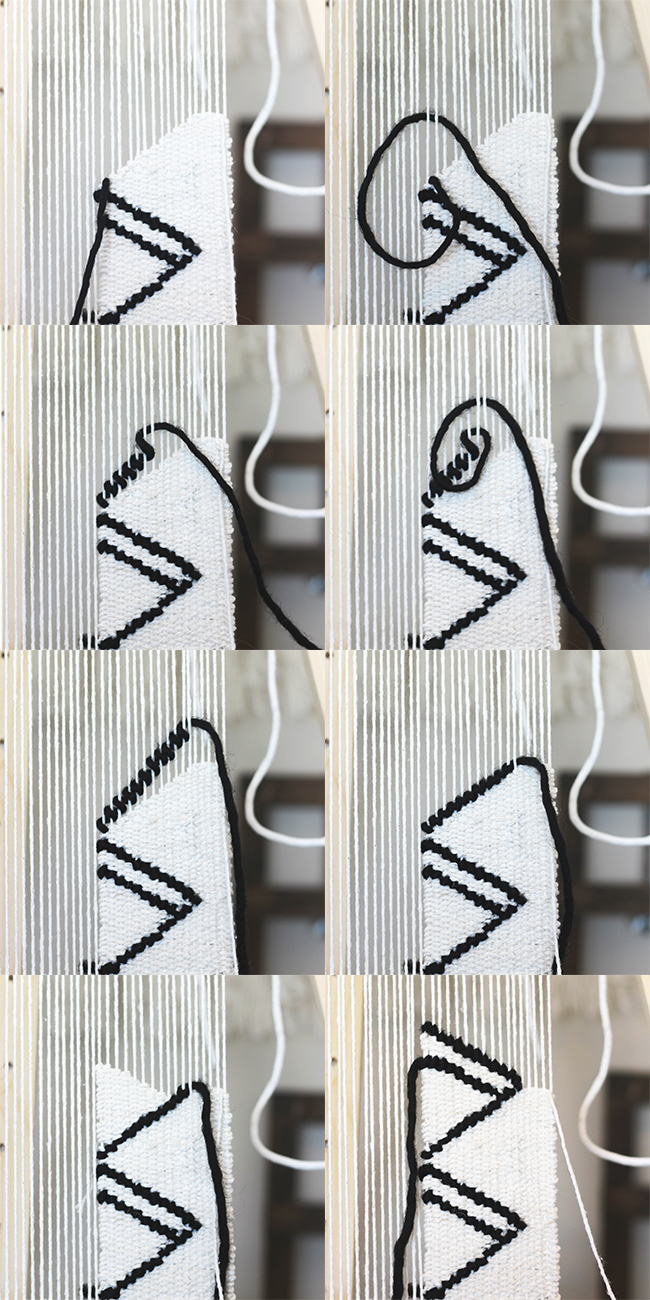
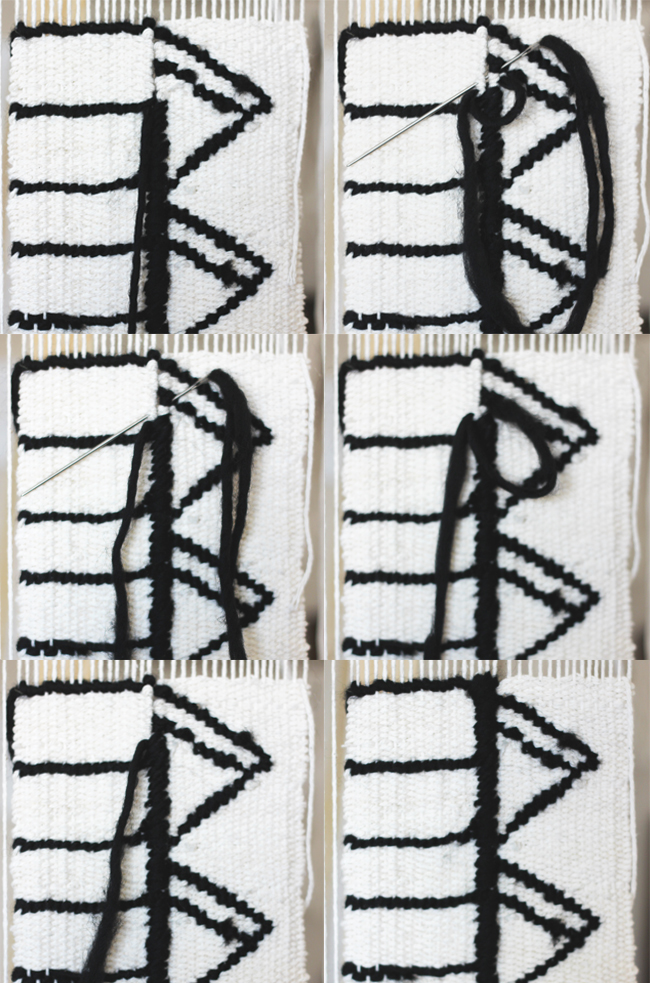
Straight Vertical

Usually when I want to create a vertical line I do it afterwards as an embroidery stitch. For this weave it had dual purposes, to create an outline and to sew my seam together. I wanted mine vertical stitch to be thicker than the horizontal and diagonal stitches, but it can be skinnier if you prefer.