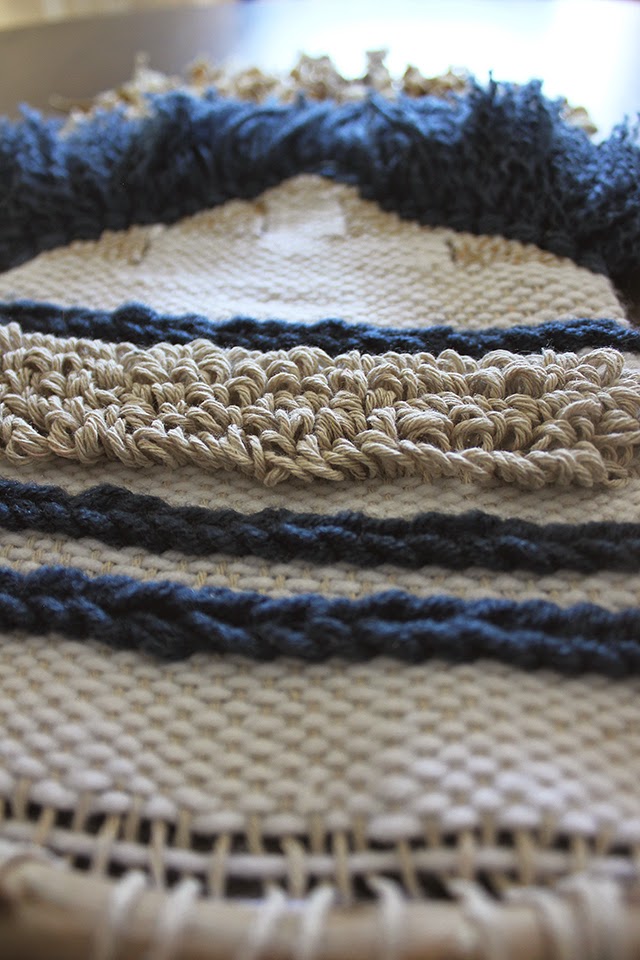
DIY Weaving Loom from Picture Frame
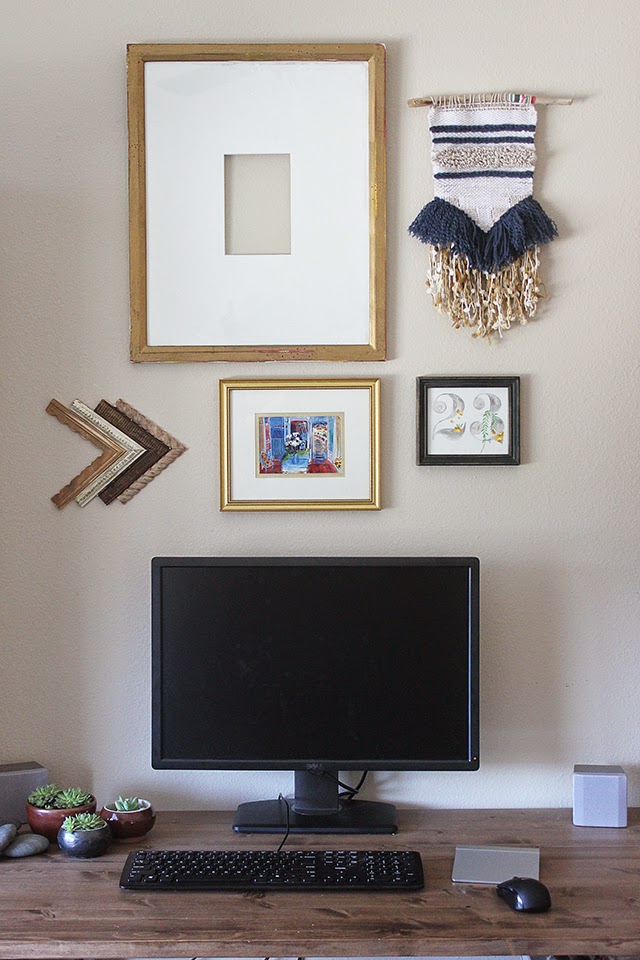
Quick Update - I now have plans for you to make your own adjustable loom that is much better than the picture frame! I highly recommend you check it out :)
Also, I have a lot of new weaving classes for you to learn, grow, and explore! Take the time to invest in yourself through mindfulness while weaving!
This class is designed to help you express yourself even better through weaving. The techniques taught here are meant to take your weaving to the next level, but don’t worry I give you all the tips and tricks to create show-stopping works of art.
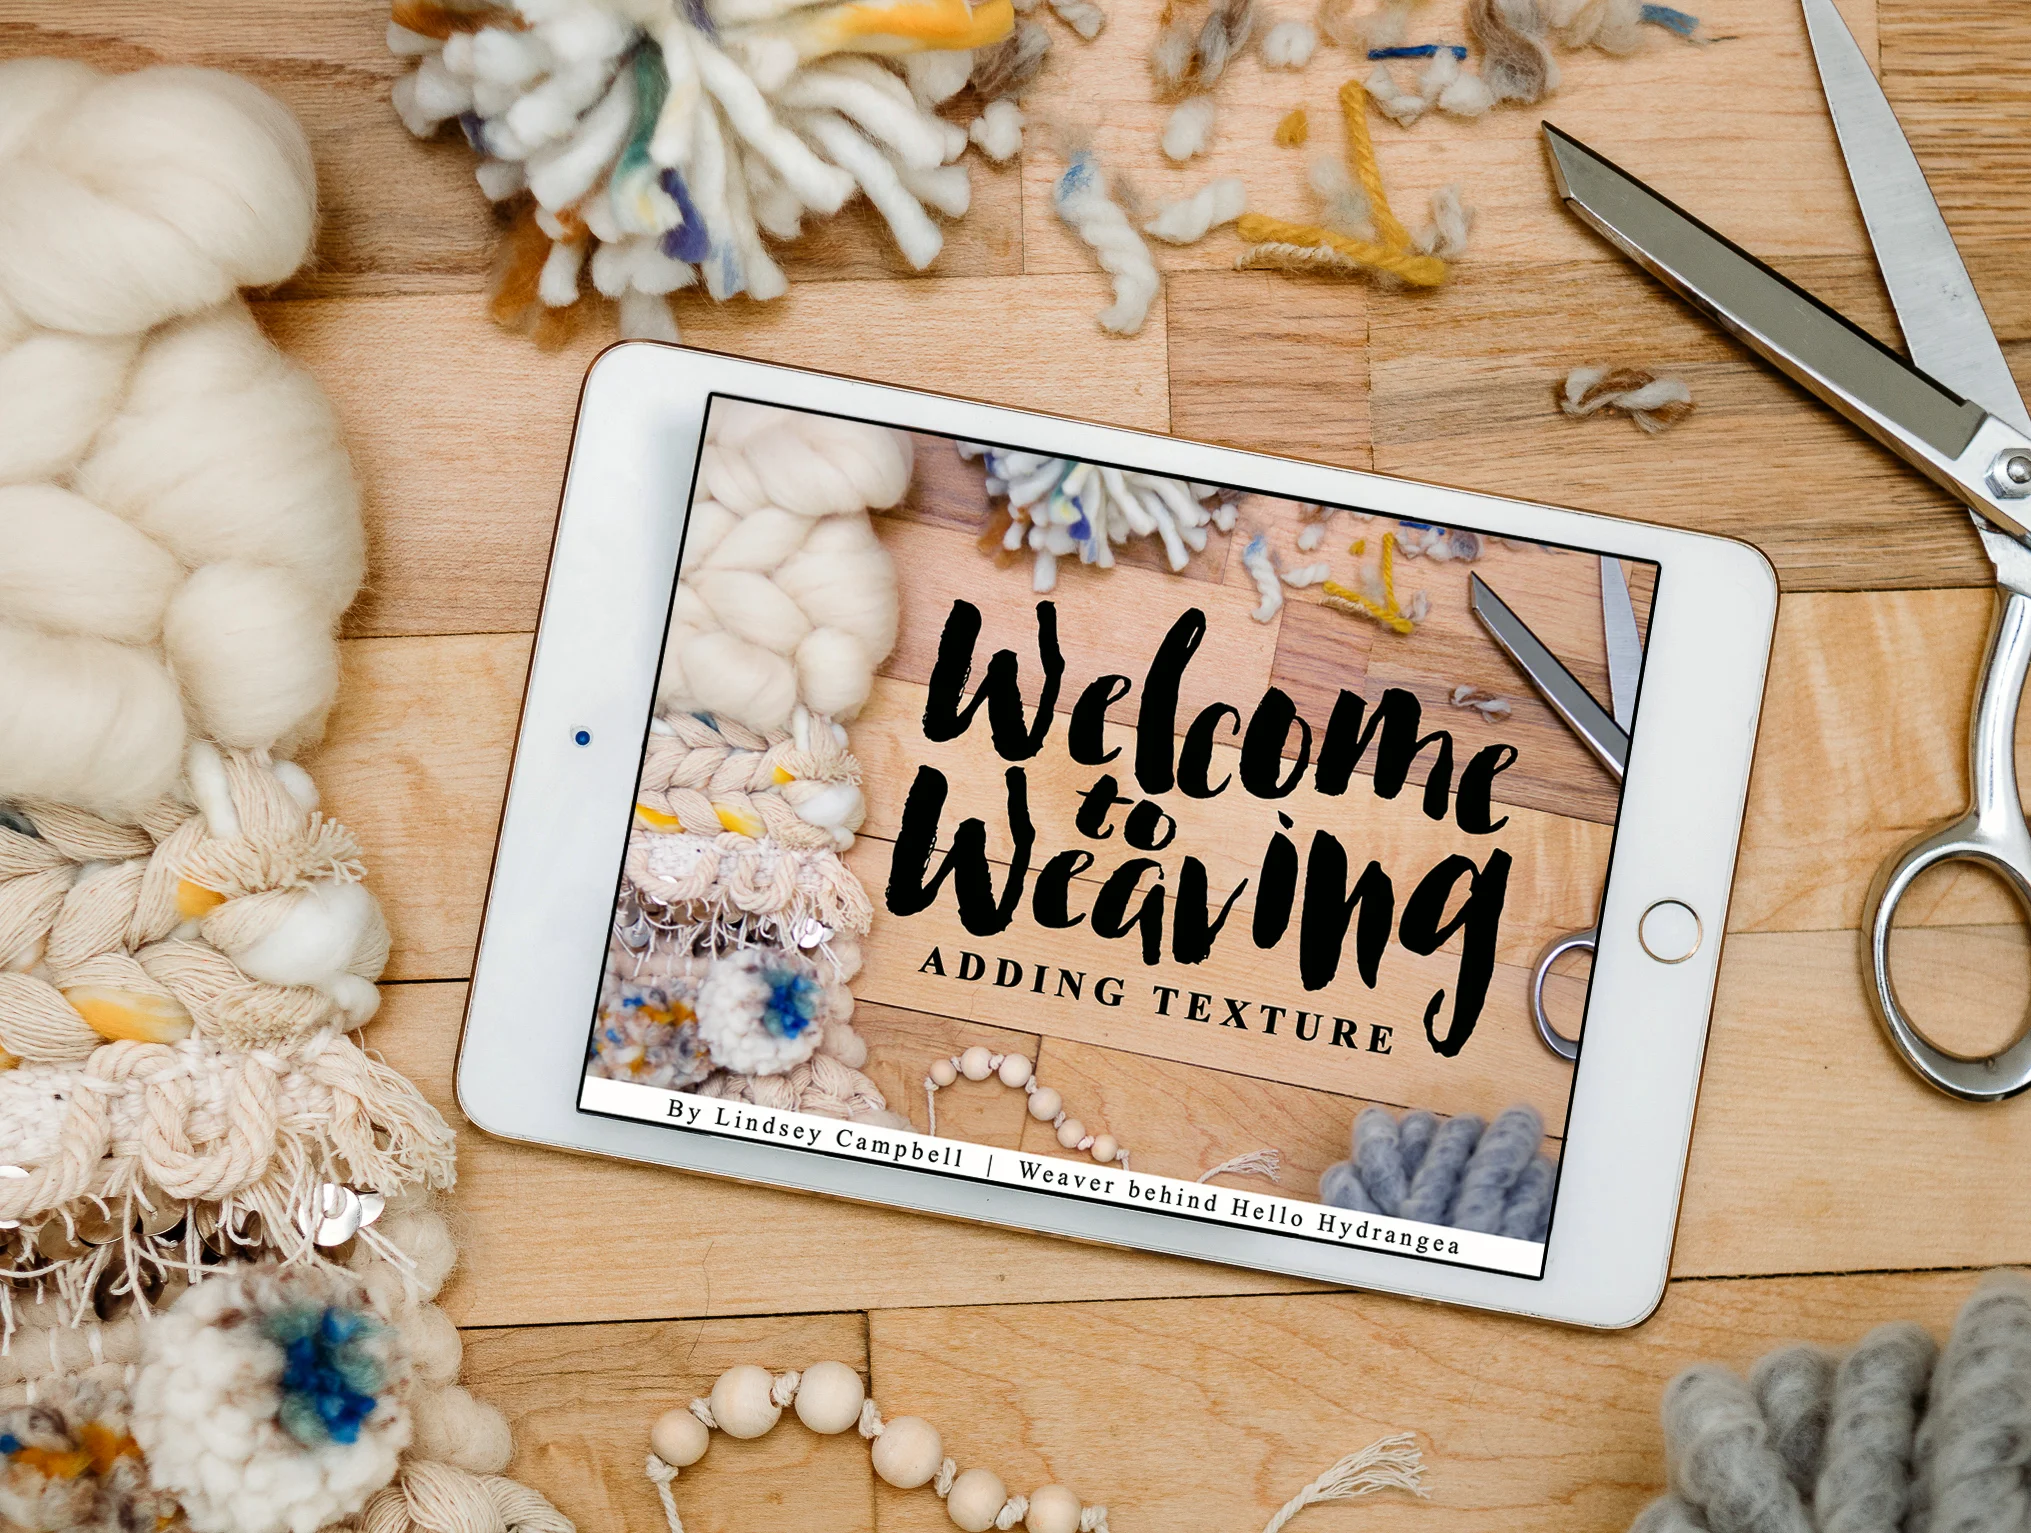
Are you ready to make your weaves stand out above the rest? You need to working with texture! This class is designed to give you all the techniques and tools you will need to add life and personality to your weaves so that you can call them your own. See the second photo for a list of the techniques covered.
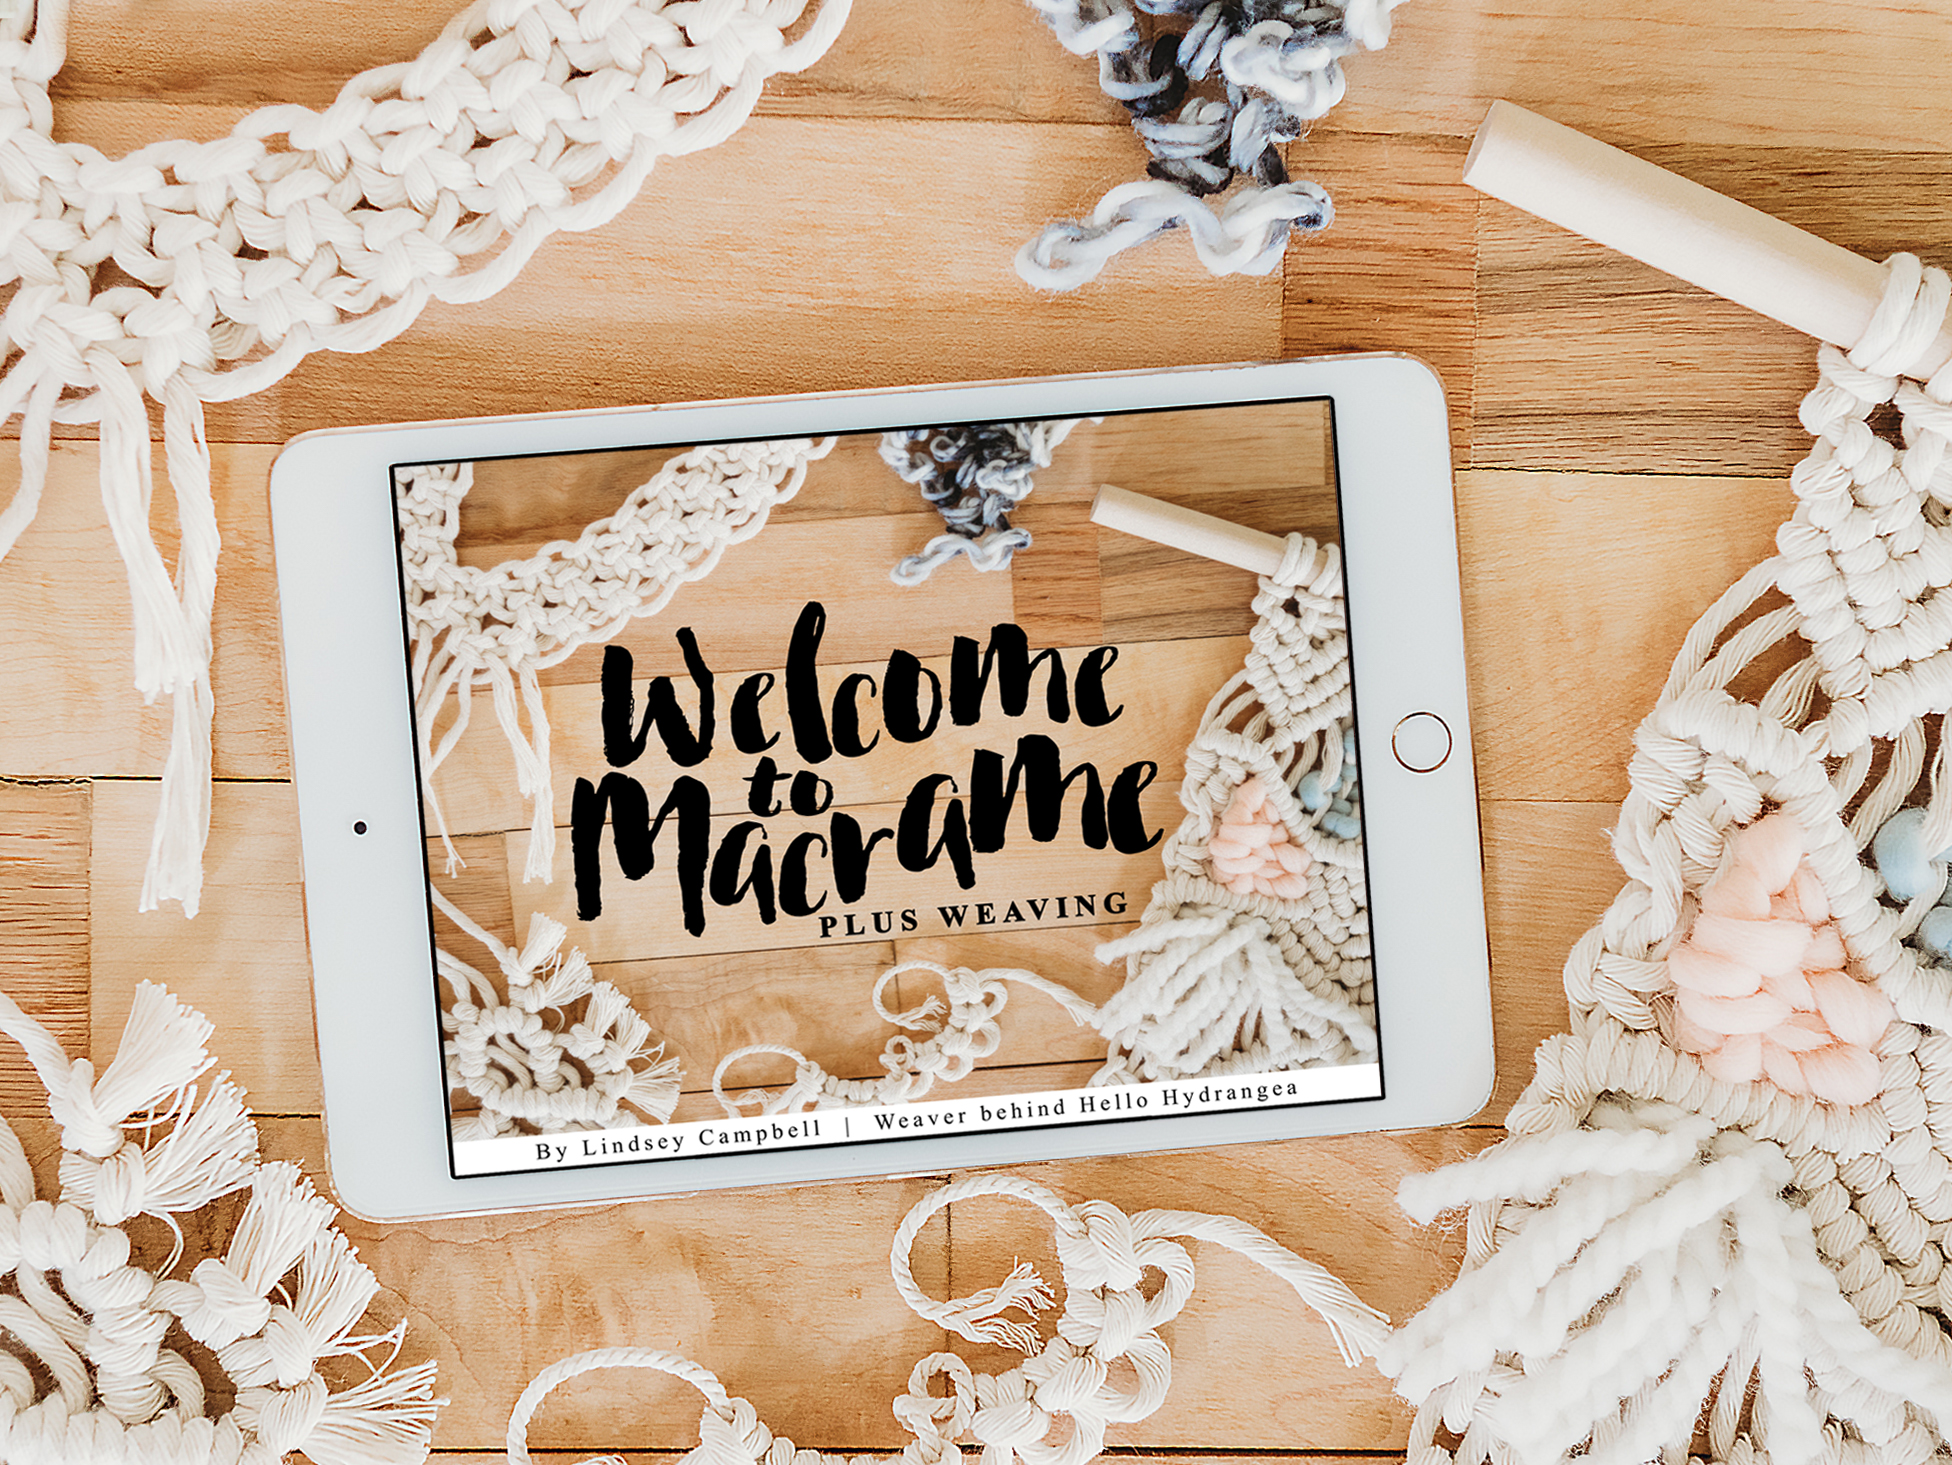
Some things are just meant to go together - weaving and macrame is one of those combinations. This class will not only take you through the basics of macrame, but also teach you some intermediate level skills as well as how to combine weaving and macrame! This class is a must!
Want to take your weaving beyond triangles and squares? This class will guide you through the techniques needed to weave any image you can imagine - the sky’s the limit with these techniques! You will also receive a folder of printable patterns and images to help you learn and create graphic works of art while weaving!
My recent obsession with weaving has taken me to the far ends of the internet.
Every gem of information I find leads me to another question and helps me understand what I've learned earlier on. I love learning something new!
I mentioned in my last post that when the weaving fever first hit me I grabbed whatever I had lying around and went to work. If you have every wanted to start weaving without investing any money in the hobby, here's a quick tutorial for a simple loom!
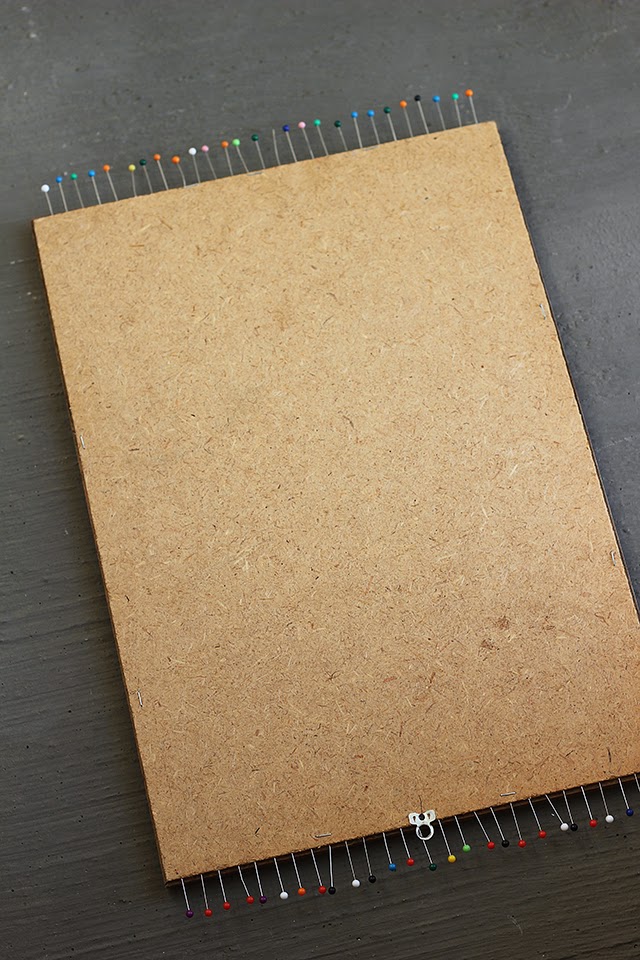
Materials
Wooden picture frame - (optional) with particle board back
Nails or pins
Yarn or twine
Thin stick or ruler
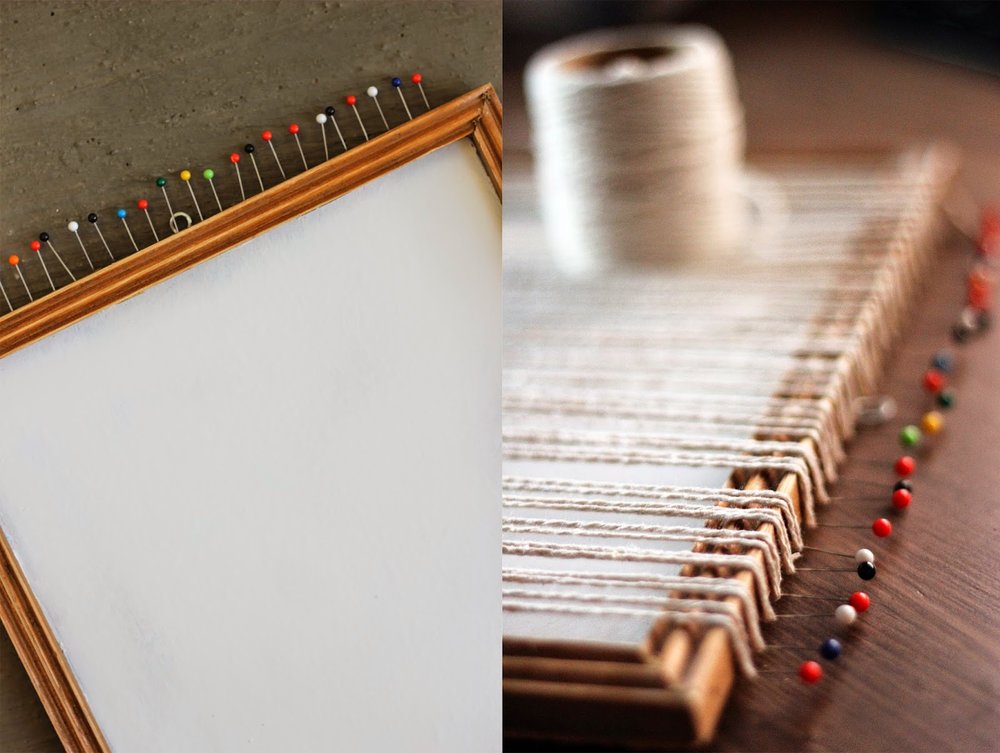
I happened to have an empty, glassless frame waiting for an unknown project. It had a thin sheet of particle board stapled onto the back of it, but if you don't have this or want to take this step simply take the glass and back out of any wooden frame.
Because the edges of particle board act similar to a cork board I was able to use sewing pins and stick them evenly out of both sides of my 'loom'. If you are only using a wooden picture frame you can also nail small nails out of the top and bottom.
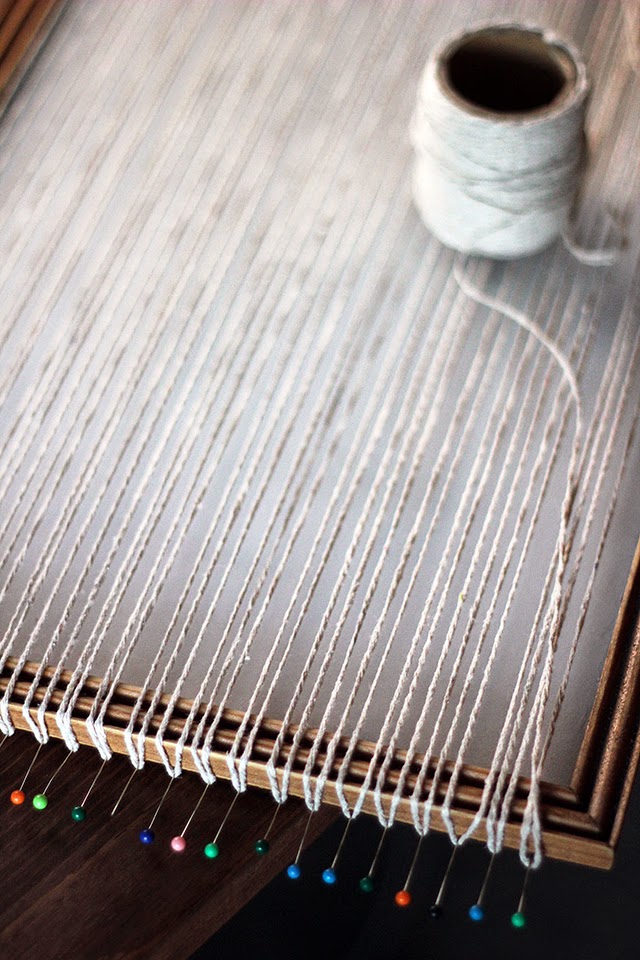
When your 'pegs' (pins or nails) are in place grab some string, and make a small knot on the first pin to hold it in place. Then run it back and forth from peg to peg until each peg has an end wrapped around it. Knot the end of the string to hold it in place.

In weaving there are ways of cheating. They make it much easier to run the string back and forth so that the process is faster. One of these ways is by sliding a straight piece of wood (a ruler will work!) through every other string, at least one direction.
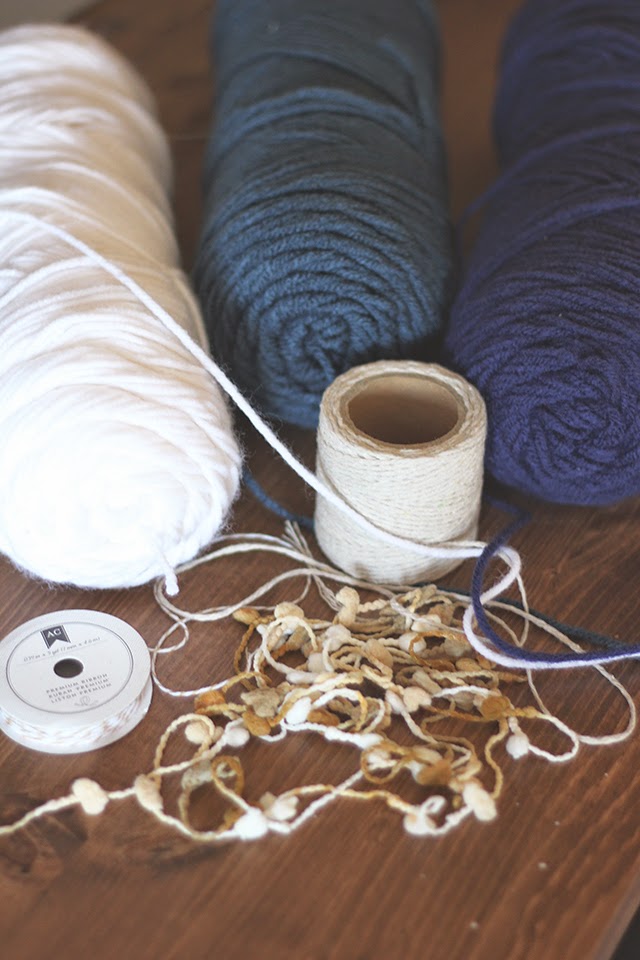
Now your loom is all set! Grab an assortment of string/yarn/rope/twine and start weaving back and forth. There are so many weaving stitches - I still need to learn a lot of them!